Skip to content
Home
About US
Home
About US
Contact Us
Home
About US
Contact US
Home
About US
Contact US
Category: Design
Professional Dog Trainers Sydney Services
November 20, 2025
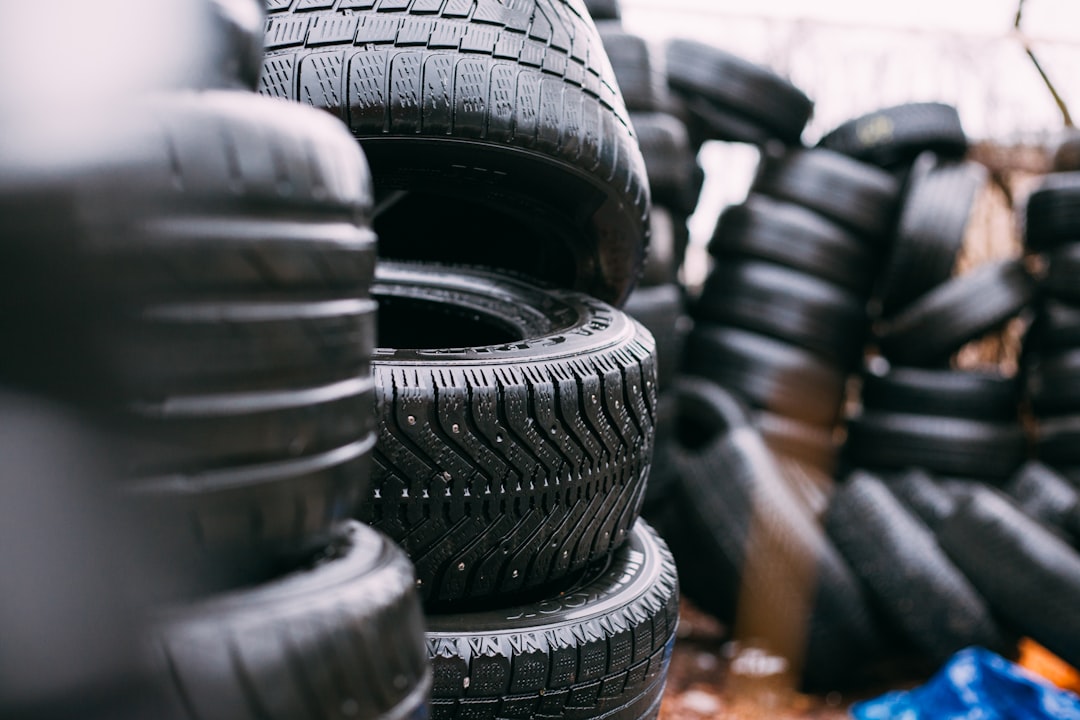
Cooper Tyres Australia and Local Terrain
November 8, 2025
Holistic Centre for Sale Brighton
November 5, 2025
The Benefits of Using Different Shapes of Labels
May 30, 2025
Getting Creative with Blank Adhesive Labels
May 2, 2025
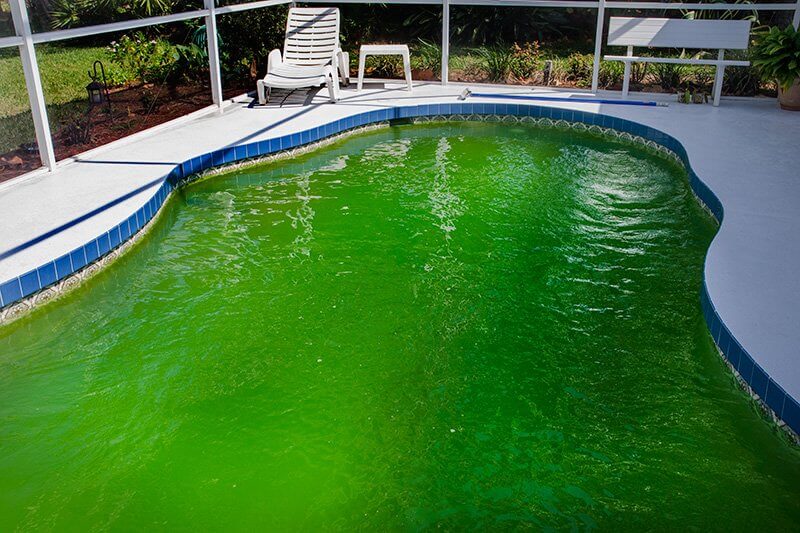
What is a Green Pool?
March 15, 2023
3 Main Points To Keep In Mind When Designing Your Medical Device PCB Layout
June 2, 2022
Reasons To Use 3D Logo Wall Signs
December 6, 2021
The Benefits Of Iterative App Design
January 8, 2021
How To Make A Craft Display Stand Outstanding
March 5, 2020
Page
1
Page
2